The goal of this brief tutorial is to get you up and running with ZOOM Videoconferencing on your PC or Mac as quickly and easily as possible.
Be sure you have a Microphone installed on your computer. A camera is not ‘required’ but a Mic is absolutely necessary.
There are 3 Main steps to getting started with Zoom:
- Installation
- Setting Up Audio and Video
- Meetings
Installation
- From a web browser, navigate to virginiatech.zoom.us
- Choose ‘Host – Start a Meeting’ for simplicity, and to get a feel for working inside the program.

- You should be redirected to Virginia Tech Login. Enter your VT Username (PID) and password and use 2-Factor Authentication to log in as you would any VT service.
- You should now be prompted to install the Zoom application. If not, follow the instructions onscreen to ‘download and run Zoom’
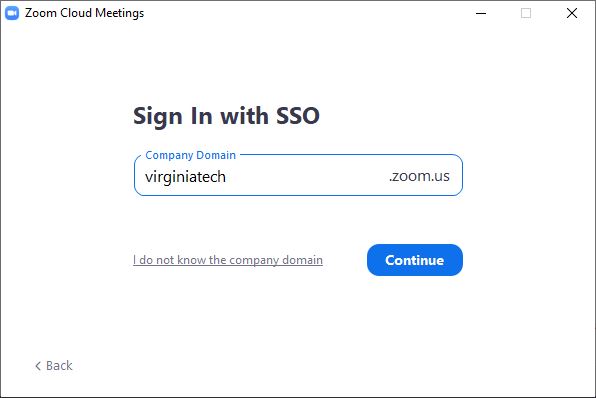
- Run the installer. It’s possible you will have to log in to Virginia Tech again.

- If so, select “Sign in with SSO” and enter “virginiatech”.
- The App should launch. Your camera should be on.
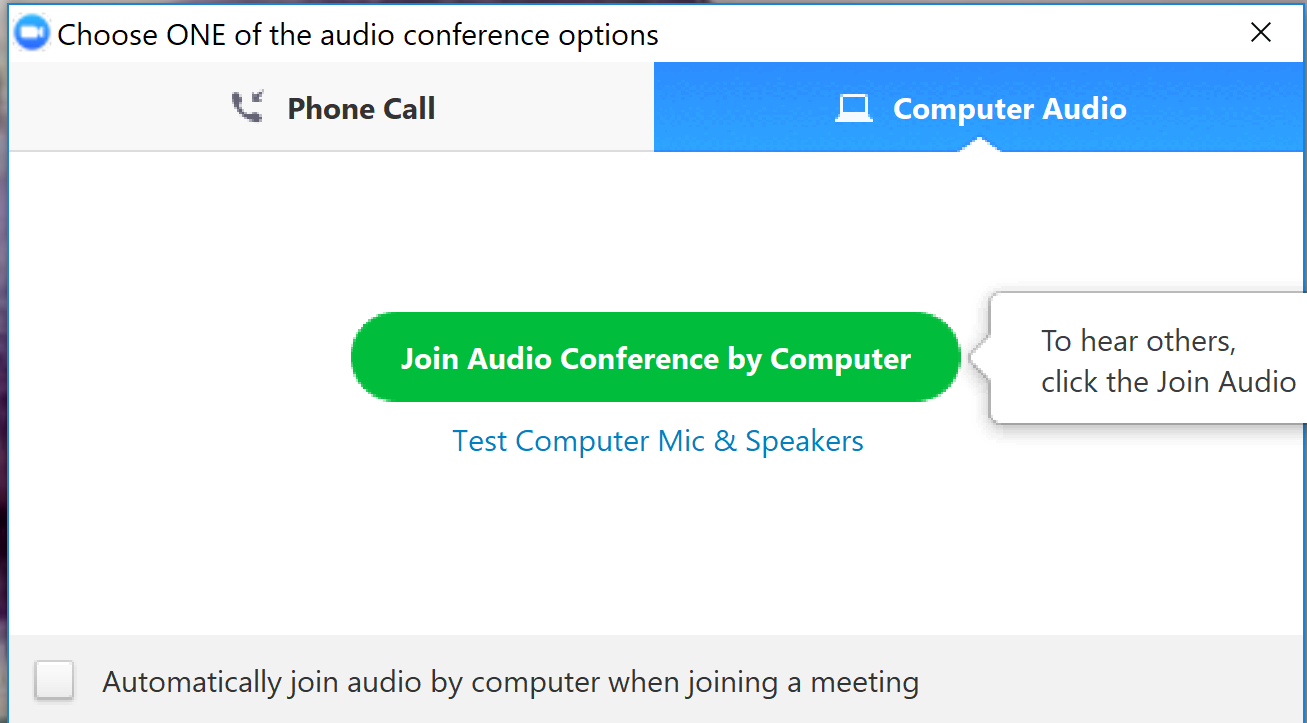
- If you see the following window just close it. We will be using it in a minute.
- This bar will be at the bottom of the window:

- End your meeting, with the ‘End Meeting’ button at the bottom right.
Setting Up Audio and Video
This is the where videoconferencing software often gives users the most trouble. Often if you have a headset AND a microphone and speaker in the computer itself, these options may need to be configured.
Setting Up Your Microphone and Speakers, Headphones
-
- Once you have joined or started a meeting, you can begin to set up your Audio and Video hardware
- Depending on if your computer detected audio, you will see one of these buttons in the left of the bar:
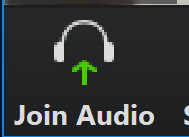
- Choose one of the following:
- If you see ‘Join Audio’, just click it.
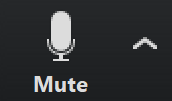
- If you see ‘Mute’ and an Arrow, click the Up Arrow, then ‘Audio Settings’ from the menu.

- If you click on ‘Audio Settings’ the Audio Settings window will open

- Click the Box next to Test Speaker and make sure the device you want to hear is selected.
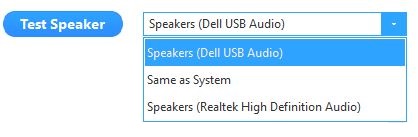
- Click ‘Test Speaker’ and you should hear some music from the Speaker you selected.

- Click the Box next to Test Mic and make sure the device you want to speak into is selected.
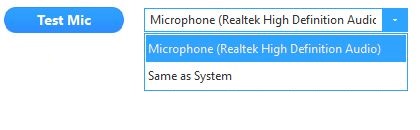
- Click ‘Test Mic’ and begin speaking into the microphone you selected.

- The ‘Test Mic’ Button will now say ‘Recording.’ Click it to stop recording

- The Button will change to say ‘Playing’ and what you said will play back. If you cannot hear it your mic setup may be wrong.

Setting Up Your Video Camera
If you have, and want to use, a video camera:
- Make sure the window from Audio Setup is closed.
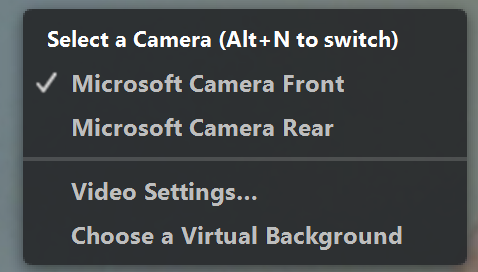
- Click the Up Arrow next to Stop/Start Video


- Make sure the Video camera you want to use is selected and working.
- You can ignore the other options for now.
Meetings
- If needed, Click ‘End Meeting’ in the bottom right of your window.
Host a Meeting
- If needed, open and login to the Zoom Client..
- Choose ‘Start with Video’ (or ‘Start without Video’ as needed.)
- In the Zoom window’s bottom bar, select ‘Invite’

- In the resulting window, select ‘Copy Invitation’, or ‘Copy URL’ (Copy Invitation is a much longer message with lots of options.)
- Paste this text into an email and send it to your colleague.
- Your colleague should join your meeting.
Join a Meeting
If you want to join a meeting that is already set up by someone else, see the instructions at 4-Help’s Zoom Page about Joining a Meeting.
Still having issues or need more help? Need someone to connect to to test your Zoom out? AAD Helpdesk
For more tutorials on using Zoom, visit 4-Help’s Zoom Page